Sunday, November 2, 2014

Do that to me one more time...............................

That's what my furniture says to me -

I can never get enough of a girl like you ♪♫
Paint me, like you just did, oh baby  ♪
Do that to me once again   ♪♫♪

I don't usually post on the weekends and here I am posting on both days - there's just so much going on with that little guest room !

Last week I asked if I should keep the armoire in the little room - or a dresser - most of you voted for the armoire - so I decided to go with the dresser LMHO - but I did give it a quick makeover anyway - and I do mean quick - as in 20 minutes or so.
Paris Grey - the white was already on it ( when it was duck egg blue )

Dresser makeover - Paris Grey Chalk Paint


This thing is heavy - as in if this thing fell back it would have killed me instantly.  With just my legs sticking out like the wicked witch that I am..................
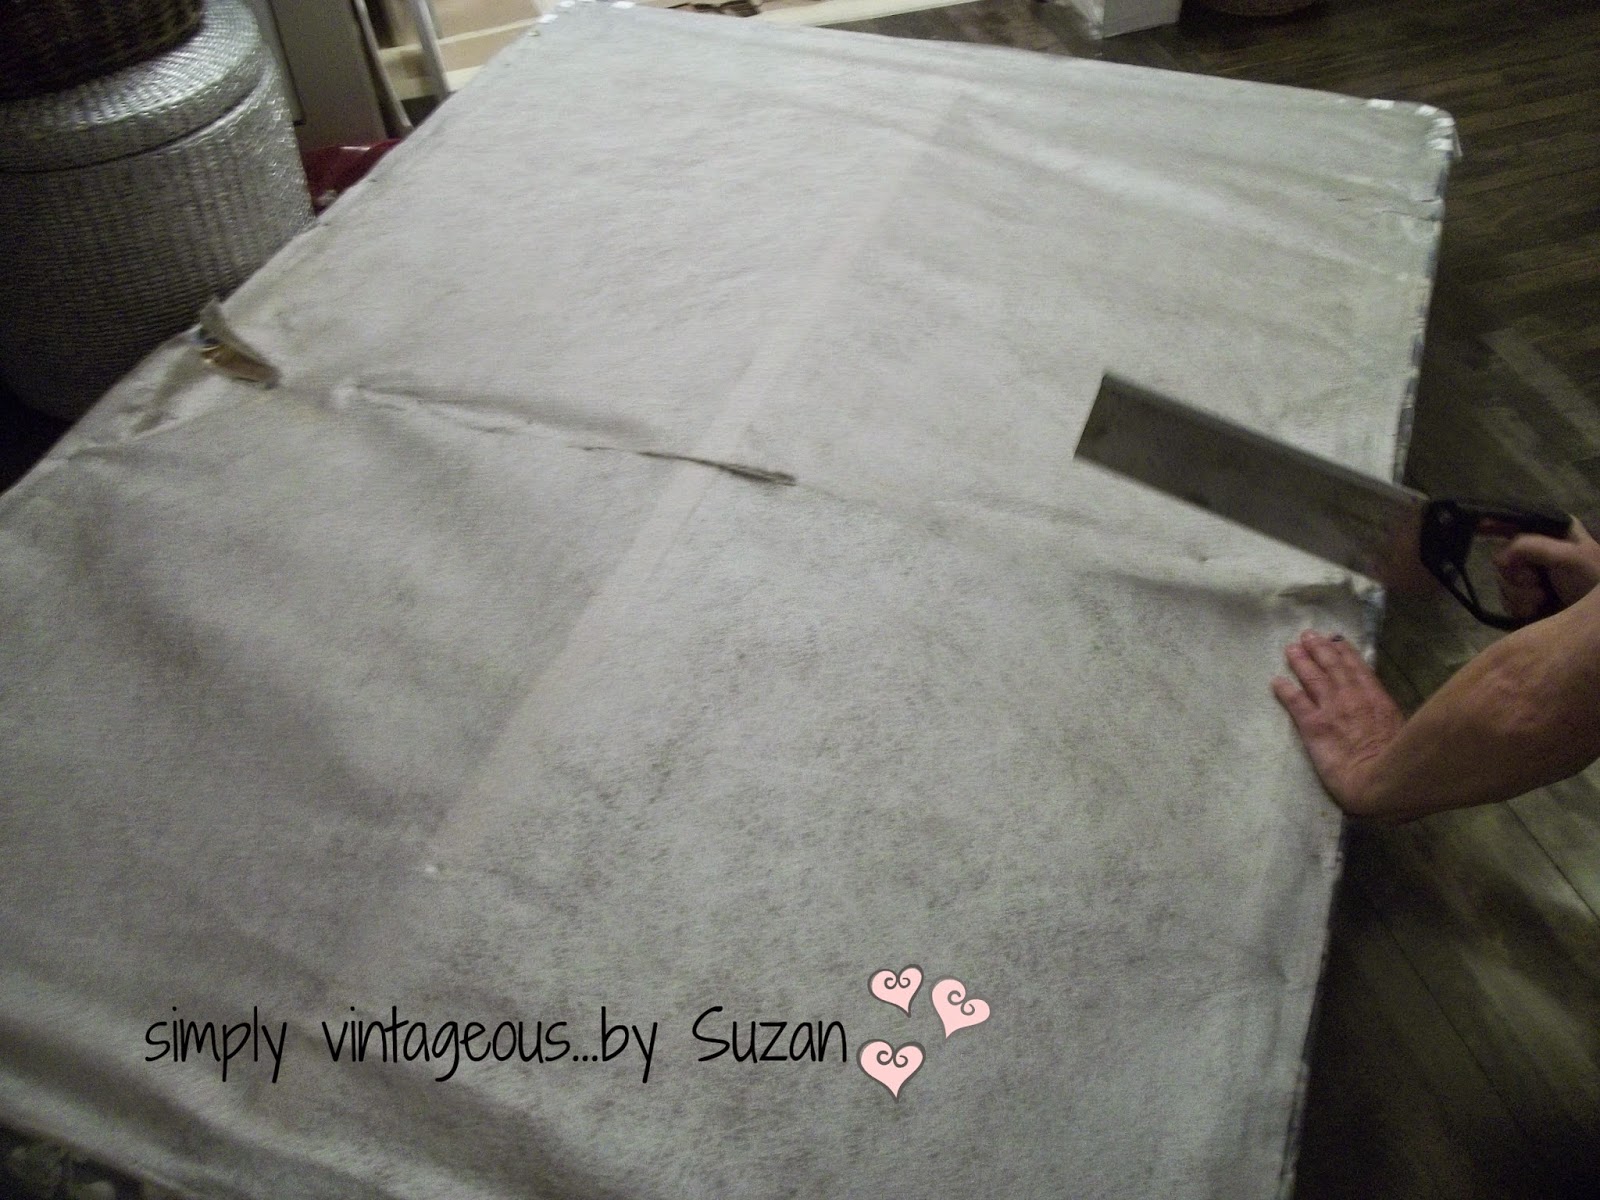
So heavy that I should have worn depends when we lifted the top piece off to move the bottom piece ( too much information I know )
So heavy - as in I may have popped a blood vessel or two and I can lift heavy things believe me.

My Son dropped in for a visit and I asked if he could help John take the top piece off ( again ) because it wasn't level
He did it himself !!!
Oh my God - I don't know how he did it

Mom says - Did you pee a little when you did that?
Gordie says - Ugghhh Mom - why would I pee?
Mom says - From the weight ?
Gordie says - That's gross - you're my MOTHER - don't talk like that
Mom says - Like what?  Sheesh - it's just pee
Gordie says - You should have worn Depends
Mom says - I know that.........................

But I digress - you didn't come by to hear about my bladder after all.


It's a very light coat of grey actually - some duck egg blue is peaking through here and there but I kind of like that
And I left the white parts as chippy as they were - cutting the painting time in half I'm sure


Paris Grey Chalk Paint Dresser Makeover

 It's in the hall landing - and it's ridiculously too big for the space but that's where it's staying until I get the office done - ( and God knows when that'll be - it's the last room to do upstairs and I'm not in the hurry that I should be )  I DO have the perfect spot for it in the reading room downstairs - but JOHN'S t.v. is in the way.


But it suits the space better then the duck egg would have


It can always go back to it sometime in the future - no big deal-ee-o - right?
I DO love the color - it just didn't fit

( I'm writing that because now that I'm looking at it - I'm afraid you're all going to say I shouldn't have touched it ) 

You can see the original 2 part posts on the first makeover HERE and HERE
I dry brushed a little gray on the 2 interior drawers as well - very little actually.


Paint me - like you just did  ♪
Oh baby................... 
Do that to me one more time  ♪♫♪


Now I officially have clothes in my bedroom - in both guest rooms and the upstairs landing

John says - Are you sure you have enough drawers
Suzan says - I could probably use just one more 
John says - I think there's a corner in the shed outside we could probably squeeze one more in 
John says - It's too much - there's dressers all over the bloody place 
John says - It's like living in a shop

Yaddy yaddy yadda

I'm thinking of secretly taping him - so you get the audio

Have a wonderful Sunday everyone - 
Hugs,
Me

Looking for inspiration?
Join me at these fabulous parties !

I Should be Mopping the Floor                                         Uncommon Design
My 1929 Charmer                                                            Distressed Donna Down Under
Between Naps on the Porch                                              Kathe with an E
An Extraordinary Day                                                       Homestories A to Z
Elizabeth & Co.                                                        The DIY Dreamer
Savvy Southern Style                                                        Beyond the Picket Fence
DIY by Design                                                                 Adorned from Above
Have a Daily Cup of Mrs. Olson                                       The Dedicated House
French Country Cottage                                                   Too Much Time on my Hands
My Turn for Us                                                                My Romantic Home
Miss Mustard Seed                                                          Remodelaholic
Remodelaholic                                                                 Coastal Charm

Friday, October 31, 2014

Creating a bed nook.....( and overcoming obstacles )


DIY bed nook


John says - This is absolutely ridiculous -
John says - This is STUPID
John says - The room's too small - this is ridiculous
Suzan says - You already said that
John says - I can't believe you're hanging a curtain there - the room's small enough - this is absolutely ridiculous

3 times............................

GET.  OUT.  OF. THE.  ROOM.  PLEASE...................................
Obstacle no. 1 taken care of.
_________________________________________________________________________________

Now for the second one and this is huge - we couldn't get the box spring upstairs.
For the first guest room we were able to cut the box spring and fold it in half since it was a spring ( coiled ) one.
Assuming this would be the same, John began sawing away
( Yep - right through the gauze - don't ask - we had plenty to fight about last night - this didn't seem worth it at all )


You cut the 3 main pieces of frame like this


and then simply fold it over

John says - There's nothing " simple " about this
John says - I don't know anyone else on this earth that does this crap
Suzan says - Trust me - people do this - in fact a lot of people do this that live in little old houses
John says - WHY COULDN'T WE JUST PUT A SINGLE BED IN THERE FOR GOD'S SAKES?
Suzan says - Because a double fits in and I want to create a nook

Except -

Suzan says - Oh oh - there's no springs - we can't fold it in half because of all the wood slats
John says - Oh well - there goes that idea - we'll get a single bed - and he gets up to walk away
Suzan says - No way, Jose, we'll just cut the entire thing in half and then re-attach it upstairs - in place
John says - WHAT DO YOU MEAN  " WE'LL " JUST CUT IT IN HALF?
John says - I only see one of us with a saw in his hands
John says - I'm really at the end of my rope with all of your sick ideas
Suzan says - THEY'RE NOT SICK IDEAS !!!!!!!!!!
John yells - WHAT THE HELL ARE YOU DOING NOW?
Suzan says - taking all the fabric off to one side so you can remove those slats...............it'll be easier for you that way, trust me
John says - EASIER FOR ME????????????????????


They were just stapled in - so they were in fact quite easy to come off - here it is with all the horizontal slats removed


John says - THIS IS THE LAST TIME - DO YOU HEAR ME - I'M NOT DOING CRAP LIKE THIS ANYMORE
Suzan says - Aw c'mon - you just have to saw the 3 main piece of wood now and it's done

Here's how it looked when it was done

John says - I BASICALLY HAVE TO REBUILD THE BLOODY THING UPSTAIRS NOW
Suzan says - Could you please stop shouting?  You're giving me a headache
John says - YOU ARE A HEADACHE


It was incredibly light to carry upstairs LOL

We placed it on the bed frame and John reinforced where the 3 cuts were made


and then he nailed the slats back in ( I patched up where the fabric had been cut )
I only kept the fabric on the sides since the mattress is going to hide everything else..................everything else was cut up and thrown out

Obstacle no. 2 taken care of


A bed skirt would have been difficult - ( plus I didn't have one LOL ) so I cut up a drop cloth - folded it in half - and stapled it along the edge of the slats


Obstacle no. 3 - done !
And there you have it -
By hook or by crook - I've we've created a nook !!!

DIY bed nook

This tiny little space took me over a week - not the room - just the nook - so that's all you're going to see
( and by the way the entire room is basically double the size of this -

The " curtain " is a duvet cover I had on hand ( you can see that post HERE )
Did you notice that little window?
I put the matching pillow case on it - I can fold it to whatever size I need ( shorter in the day ) again I didn't cut the sham at all - just simply folded it - the top part of the window only shows roof lines and tree tops so I didn't think it was necessary to cover that part ( unless there's a chimney sweep in the area, it's perfectly safe)
 I also painted a frame around the window to give it a little more substance


It's not easy getting photos of this small area, let me tell you but I'm going to do my best to show you
" around " lol

I added a mirror to my wood plank " glam " frame - and installed 2 reading lamps on the wall -


A picture of the Eiffel Tower - and benches that I actually used to read on once upon a time !!!
( and fell asleep on one sunny beautiful afternoon )


The mirror is painted white and distressed ( a long long time ago )

And I guess that's kind of it .................almost ready


DIY bed nook

but not quite


John says - Why do you always work a$$ backwards?
Suzan says - I don't !!!
John says - You've decorated half the room - and you still have to paint the floor on the other side
Suzan says - It gives me hope when I can look up and see the other half done

He doesn't even realize I've only painted half the ceiling also LMHO

Oh and here's the seller's photo from MLS and how it looked when we visited the house


Later on in bed...................

Suzan says - Maybe our next place should be a loft
Suzan says - You're becoming quite the carpenter you know
John says - The next time I move it'll be in a pine box
John says - In fact - that may be the next project I work on.....................

Have a wonderful day everyone - and weekend for that matter.
I'm praying I'm finished this room by the end of it -
Please don't let it take another week

Much love,
Me 

Looking for inspiration?
Join me at these fabulous parties !

Be Different Act Normal                                              One More Time Events
Life on Lakeshore Drive                                               It's Overflowing
DIY Showoff                                                               I Should be Mopping the Floor
Uncommon Design                                                       My 1929 Charmer
Distressed Donna Down Under                                    Between Naps on the Porch
An Extraordinary Day                                                  Kathe with an E
Homestories A to Z                                                     Elizabeth & Co.
The DIY Dreamer                                                       Savvy Southern Style
Beyond the Picket Fence                                             Adorned From Above
DIY by Design                                                            Have a Daily Cup of Mrs. Olson
The Dedicated House                                                  French Country Cottage
The Charm of Home                                                   Too Much Time on My Hands
My Turn for Us                                                           My Romantic Home
Miss Mustard Seed                                                     Remodelaholic
Coastal Charm                                                            A Stroll Thru Life
Stone Gable